An Easy, Step-by-Step Guide to “Getting Gud” at Elden Ring Nightreign
by Richard Eisenbeis,
Of course, attaining those skills is easier said than done when facing a map full of dozens of locations that change each time you start a run. It's frankly overwhelming to start. To help with that, here is a step-by-step guide on what you should be doing in general each day—with a focus on the locations you should aim for and why.
Day 1: Starting Strong (Level 1-4)
Step 1: Kill all the enemies in the camp near where you land and then go to the nearby Site of Grace to hit level 2.
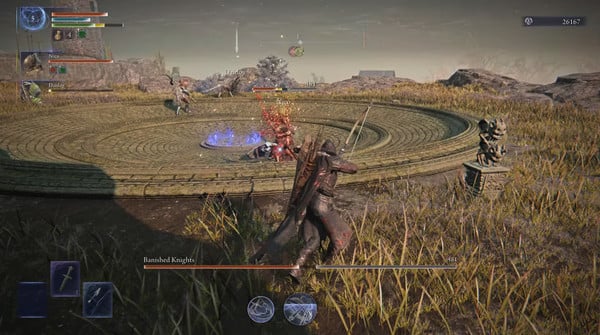
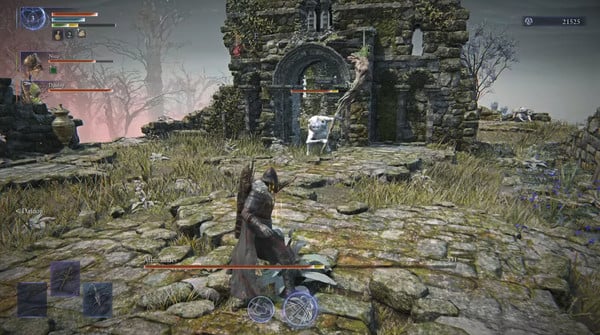
Step 2: Go to the nearest cathedral or fort—both contain chests that have a 90%-ish chance of containing a Stonesword key. (Said chests tend to be located behind the alter for cathedrals, in the second-floor double portcullis room of a fort with a sewer entrance, or at the top of the fort behind the boss for a fort with a courtyard entrance.) Oh, and be sure to take out the boss while you're there. For the forts, the boss is located on the roof. For cathedrals, they're either in the main sanctuary area or in the underground crypts reached via a hole in the ground in the main sanctuary area.
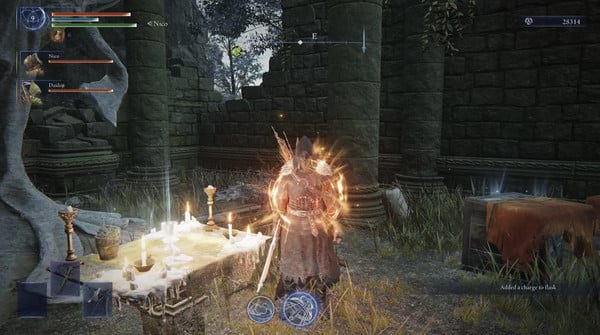
Step 3: Go to a Church of Marika or an Evergoal, whichever is closest. Each Church of Marika contains an extra healing flask sitting on its alter (and it is sometimes best to go to these before a cathedral or fort depending on how close it is to your drop in point). Meanwhile, using a Stonesword Key on an Evergoal allows you to fight a boss that will be scaled to your level (unlike the bosses randomly roaming the map). It should net you an easy win, a new weapon, and a ton of runes.
Step 4: Repeat this process while moving around the outside of the map. Hit cathedrals, forts, and churches as quickly as you can. However, avoid the “Shifting Earth” area of the map if there is one. (We'll save that area for day 2.)
Day 1: The Circle Closes (Level 5-7)
Step 1: Start heading toward the safe area. There's no way you're going to be able to complete all the cathedrals, forts, and churches before the circle of life-sapping rain begins to close in—and that's okay. Starting out, I wouldn't recommend attempting to do any locations within the soon-to-be uninhabitable area other than Churches of Marika as they take literal seconds to complete. Though, as you get better at the game, you might start wanting to boss rush quickly completable locations on your path to safety—racing against the encroaching wave of death.
Step 2: Go to the nearest Churches of Marika for more healing flasks (if there are some in the now half-size version of the map). Also, if you have any Stonesword keys left over and there is an Evergoal on route to or nearby a Church of Marika, you should do it as well.
Step 3: Gather elemental weapons for use against the Nightlord. When choosing to start a run, you'll see a little icon with the elemental weakness of your chosen Nightlord next to its picture. The boss of a location with that same icon has a high chance to drop a choice of two weapons of that element. (Just be careful of the fact that the Holy and Lightning icons look really similar—with holy being smooth with two dots on it while lightning is noticeably jagged).
Step 4: Hit any other location you have time for—with the exception of the castle at the center of the maps (as the enemies there will likely be too strong for you) and the mines (unless you specifically need a Smithing Stone to upgrade a weapon for the Nightlord fight). You should also continue to avoid both the Shifting Earth area (if there is one) and the various world bosses roaming around (unless you're absolutely sure you can kill them quickly and easily).
Step 5: Make your way toward the Day 1 boss arena when the circle starts to close again. While I wouldn't attempt to complete any locations beyond a Church of Marika or a location right next to the boss area (where the circle moves the slowest), it's not a bad idea to kill random enemies you come across as you move toward safety. Every rune helps.
Step 6: Defeat the Day 1 boss.
Day 2 (No Shifting Earth Version): Cleaning up (Level 8-10)
Step 1: Immediately head for any remaining Churches of Marika you missed for your final healing flasks.
Step 2: Hit any location containing weapons the Nightlord is weak to—especially those on the outer edges of the map.
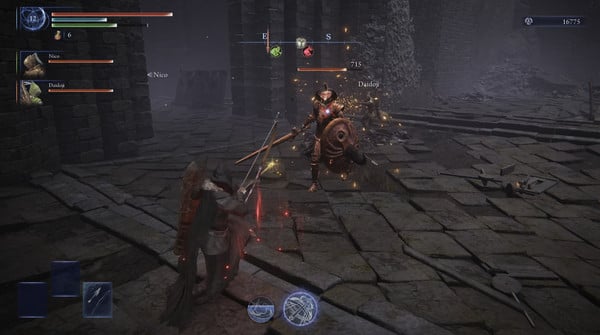
Step 3: Kill world bosses and Evergoal bosses (if you have any Stonesword keys left or can grab one quickly from a cathedral or fort) while making your way in the general direction of the castle at the center of the map. That said, it's usually best to avoid fighting Gargoyles, Corrupted Tree Spirits, or Death Birds as they tend to be very tanky and your time is better spent elsewhere.
Day 2 (No Shifting Earth Version): The Circle Closes (Level 11-15)
Step 1: Go to the castle at the center of the map.
Step 2a: If it is filled with either knights or Tree Sentinels, murder every one you see as you scour the castle top to bottom. They give a fantastic amount of runes per kill and it is even more efficient than rushing bosses once you know their locations within the castle. If (somehow) you have time left before the final circle starts to close, jump into the crevasse at the center of the castle and kill the boss in the sewers there (the passage behind him also leads up to a chest with a choice of talismans in it).
Step 2b: If the castle has trolls on the roof throwing pots, jump into the crevasse at the center of the castle and enter the sewers below it. Kill the boss there and, following the path behind it, open the chest for your pick of 1 of 3 talismans. Then work your way up to each troll's location and murder them while attempting to stay in the blindspots of the remaining Trolls so you're not being constantly pelted with exploding pots.
Step 3: Avoid fighting the boss on the highest roof of the castle. Regardless of what it is (Death Bird, Corrupted Tree Spirit, or Gargoyle), killing it takes too long and is often fatal even at high levels.
Step 4: Make your way to the Day 2 boss arena when the circle starts to close again. Again, I wouldn't try to complete any location unless it's right next to the boss area but picking off random enemies along the way for extra runes is always a good plan.
Step 5: Defeat the Day 2 boss.
Day 2 (Shifting Earth Version): A Quick Clean Up and Doing the Shifting Earth Area (Level 8-15)
Step 1: Head straight for the Shifting Earth area of the map. If there is a Church of Marika or a location that will provide a weapon the Nightlord is weak to along the way, hit it. But otherwise the Shifting Earth area is your Day 2 priority.
Step 2: Head for the quest marker (if there is one). The quest markers point to some major reward in the Shifting Earth area. For example, at the top of the mountain area is a massive frost resistance upgrade while in the Aeonian swamp is a map to a buff that makes you immune to scarlet rot and makes the game play like Bloodborne (aka., when you take damage, if you attack you gain some of your missing HP back for a limited time).
Step 3: Take down every boss you can in the Shifting Earth area (though I'd still pass on any Gargoyle). There are more bosses in these areas than anywhere in the normal map and they net a ton of runes, weapons, and stat upgrades. In some cases, there's no issue killing bosses while on your way to the quest marker. But in others, like the frost dragon on the mountain or all the bosses in the aeonian swamp, they're far easier once you have the quest reward. If you manage to defeat all the bosses, there's a good chance you'll hit level 15 by the end of the run.
Step 4: Go to the Day 2 boss arena when the final circle starts to close. The good news about Shifting Earth areas is you don't need to worry about the first time the circle shrinks and the rain closes in. The Day 2 boss will always appear in or near the Shifting Earth area so you only need to worry about the rain right as the day comes to a close. As always, pick off any stray enemies you can as you move.
Step 5: Defeat the Day 2 boss.
Day 3: The Nightlord
Step 1: Level up for a final time at the sight of grace.
Step 2: Level up your weapons if you snagged a Smithing Stone 2 from a mine (and buy a Smithing Stone 1 from the merchant if you need it).
Step 3: Buy items and physick flasks from the merchant with any left over runes. And feel free to share around those items—any caster you have would love for an extra few Starlight Shards.
Step 4: Beat the Nightlord. While admittedly, this is easier said than done, if you followed this guide, you're as prepared as you can be. You're at least level 12, have all the healing flasks possible, and have a weapon the Nightlord is weak against. While you're still unlikely to down any given Nightlord on your first try, after a couple of tries, you'll get 'em. And as the actions on this guide become second nature to you, you'll only become even more prepared—maybe even reaching the level 15 level cap to make the fight as easy as possible.
Additional Tips
Relics: In general, relics don't do too much to shift the battle in your favor. However there are some exceptions. The biggest of these is any relic that has the ability “Increased rune acquisition for self and allies.” This gives your whole party 3.5% more runes—and it stacks additively with other runes that have the same ability! Always equip any of these you have regardless of any other abilities on the rune. The other useful relics are the ones that either turn your starting weapon into the element the boss is weak against (allowing you to upgrade it with Smithing Stones rather than have to find a new weapon randomly), those that up your core stats, or those that improve your skills or ultimate ability in some way (especially those from character-specific remembrances).
Random Events: As you progress through the game and take down the Nightlords, more and more random events will interrupt your gameplay. You may suddenly face Morgott, find yourself cursed, or have locusts exploding from the ground around you. Whatever the event, throw your current game plan out the window and deal with it first. While it may seem like a hassle, the time lost is well worth the reward you'll get from overcoming the random event.
Invasions: Sometimes, you'll see a location with a blue circle covering it. Inside, the enemies are not only far more powerful than normal, but either one or two invaders (dark shadows of the player characters) also lurk inside. These invaders give a ton of runes and some great weapons. There is also a trick to dealing with them easily. Enter the blue circle in a place with no enemies just far enough for them to be summoned (you'll get a message on your screen saying so), then just wait. They will automatically come to you.
Double bosses: Occasionally, the game will simply make you fight two final Day 2 bosses in a row without a chance to heal. While this can be brutal, just look at it as a way to get even more runes before facing the Nightlord. Sadly, there's not much you can do to prepare—just try to keep a healing flask or two in reserve, just in case.
Disclosure: Bandai Namco Filmworks Inc., a wholly owned subsidiary of Bandai Namco Holdings Inc., is a non-controlling, minority shareholder in Anime News Network Inc.
discuss this in the forum (1 post) |
this article has been modified since it was originally posted; see change history