Interest
Figure Build Close-up: Vegeta's Saiyan Space Pod
posted on by Lauren Orsini
Anime News Network's merchandise coverage sponsored by
Tokyo Otaku Mode.

Figures are provided courtesy of Bluefin Distributors
Who says the Dragon Ball Z universe doesn't have any cool mecha? The Saiyan Space Pod is a reminder that the show's characters rely on technology as well as magical strength.
Thanks to Bluefin, I had a chance to build my own model of this uniquely Saiyan machine.

At 6.3 inches tall, the finished model is an unmissable conversation piece. But for its considerable size compared to many of my other Bandai models (especially my large collection of High Grade Gunpla), it was a very simple, relaxing build.
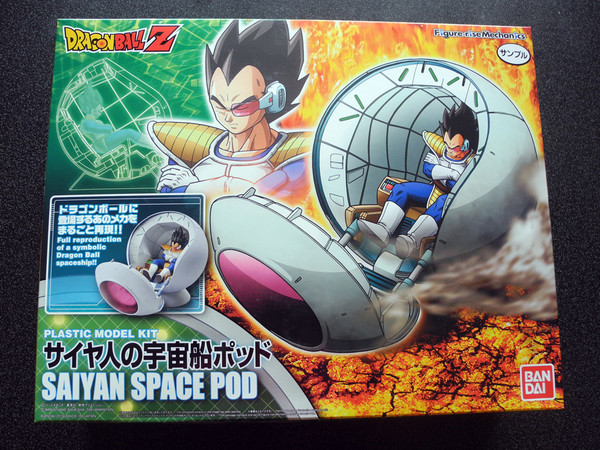
Here's the box, which is as large as a Bandai Master Grade Gunpla box, taking up almost the entire surface area of my coffee table. Veteran model builders will notice there is no mention of the kit's scale. Unlike Gunpla models, DBZ figures don't seem to be proportionately scaled.
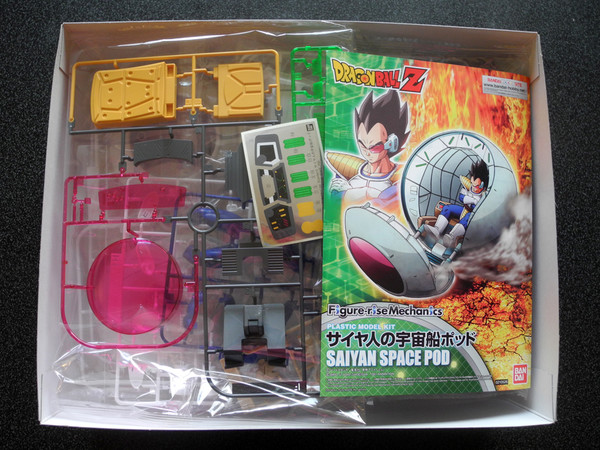
Inside, you can see what makes this kit an easy build. The pod is made out of enormous pieces that don't take a lot of work to assemble. There are only nine runners of parts, total.
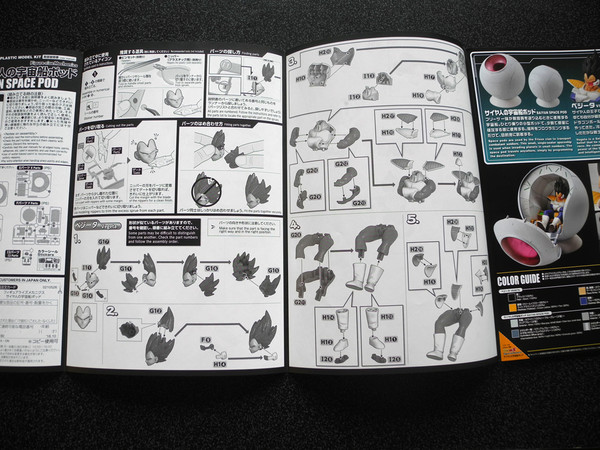
In the instructions, you can see that there are six steps to assemble Vegeta himself, and 10 steps to assemble the space pod. Though of course, each step includes a bunch of sub-steps. It took me a little under two hours to assemble the entire kit.
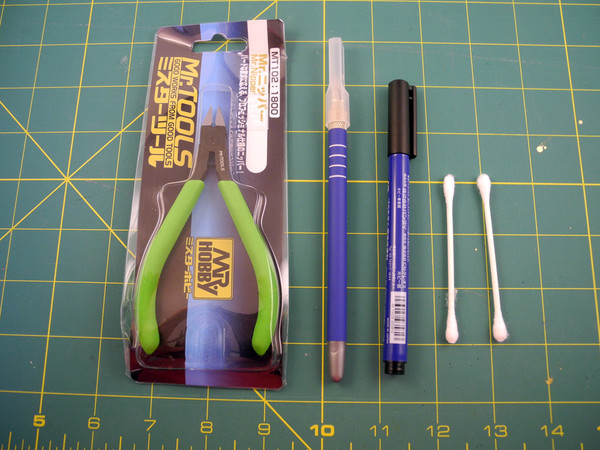
Here are the tools I used to build the Saiyan Space Pod. Bluefin was kind enough to send me some Mr. Hobby nippers. I paired those with my Mr. Super Tool Set X-Acto knife, also from Bluefin, but which I bought separately. I also used a Gundam marker and Q-Tips, but I'll explain more about why I needed those later. Also, not pictured: a pair of tweezers.
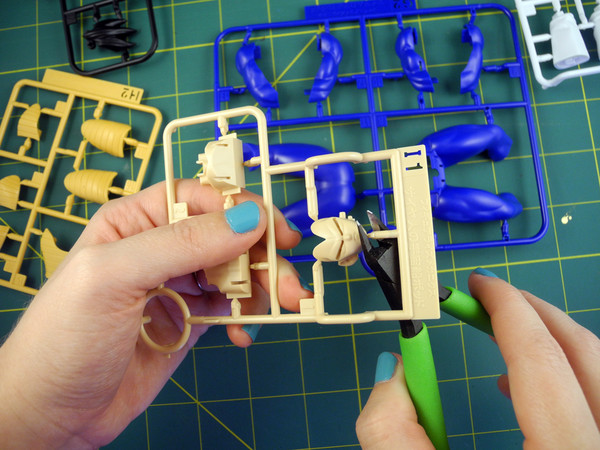
Similar to wire-cutters you can find in the jewelry section of your local craft store, nippers are essential for getting the pieces cleanly out of the runners. I've found that in order to get the cleanest cut on my final model, it's best to leave a little space between my cut and the kit, which means a little nub of plastic is left sticking out.
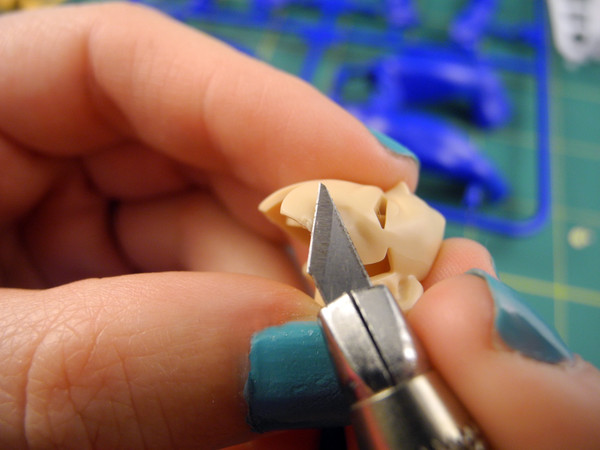
Then, I remove that little nub with my X-Acto knife. You can also deal with the final nub with a snip of your Mr. Hobby nippers, but I find that a knife gives me more precision.
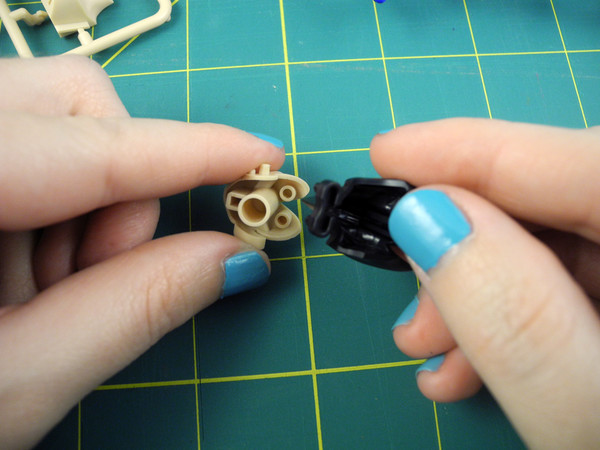
After that, it gets really easy—you just snap the pieces together.

Look how clean Vegeta's hairline is here. Since Vegeta is in a fixed position and is not an action figure, these are some of the nicest lines I've seen on a Bandai kit. He doesn't have to be poseable, which allowed Bandai more precision in how he fits together.
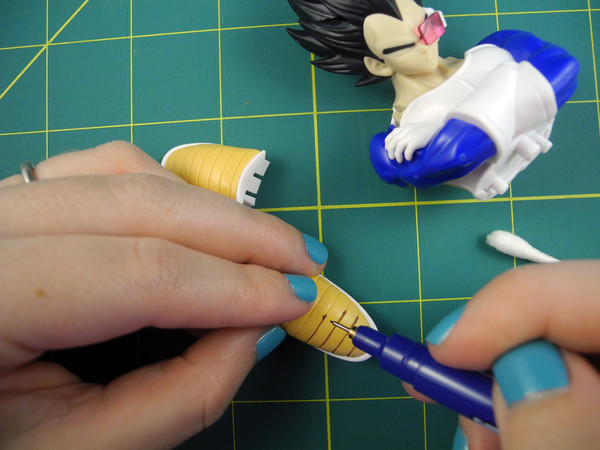
One of the unnecessary steps I did to make this kit my own was panel-lining. Panel lining is a technique where you color in grooves on the kit to make them stand out more. Here, I am panel-lining one of Vegeta's shoulder pads. It's messy, but don't worry!
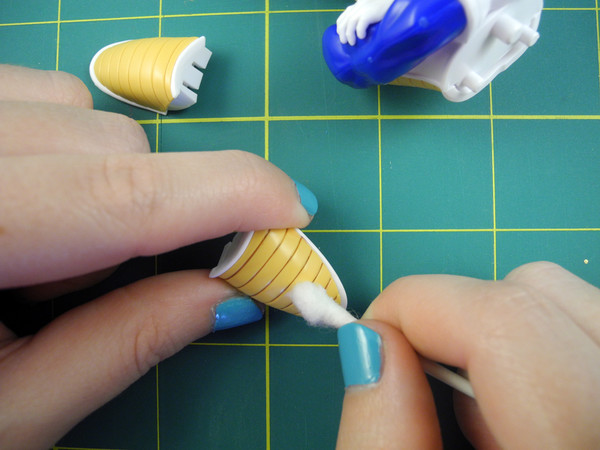
…Because I immediately wiped away the excess ink with a Q-Tip. Panel-lining always looks severe at first, but then you do your smudging step and it looks fine.
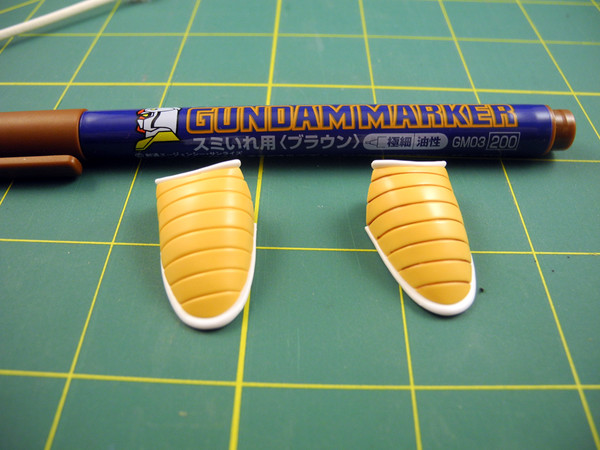
Here's a comparison of the shoulder pad I didn't panel-line yet with the one I did. See how it really defines Vegeta's outfit?
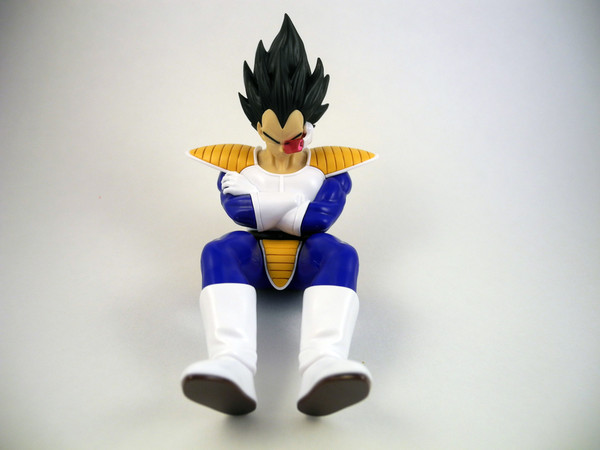
It didn't take long to fully assemble Vegeta. He looks so peaceful!

For the pod, I had a lot of sticker applications to do. I used tweezers to avoid getting the oil from my fingertips on the kit—since that could make the stickers fall off more easily.
The keyboard had more stickers than anything else. To get it to look like this, I used three main stickers, which needed to be lined-up as precisely as possible.
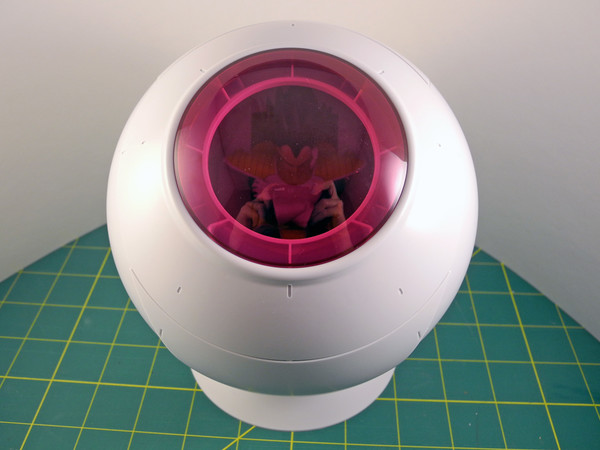
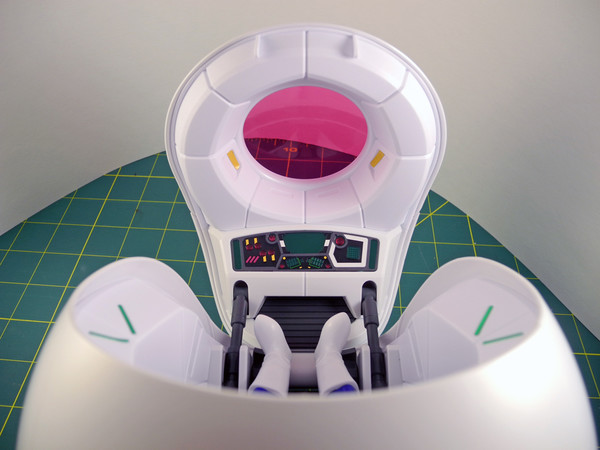
Here's the pod closed. The hardest part of the whole kit was getting that sphere as spherical as possible. The top of the pod was especially difficult, and in fact the instructions include a warning to cut it out as cleanly as possible and don't leave any nubs—otherwise it might not fit together as a circle. I had a lot of trouble with this myself, even with the X-Acto knife, and ended up taking it apart, cutting even closer, and reassembling it more tightly.
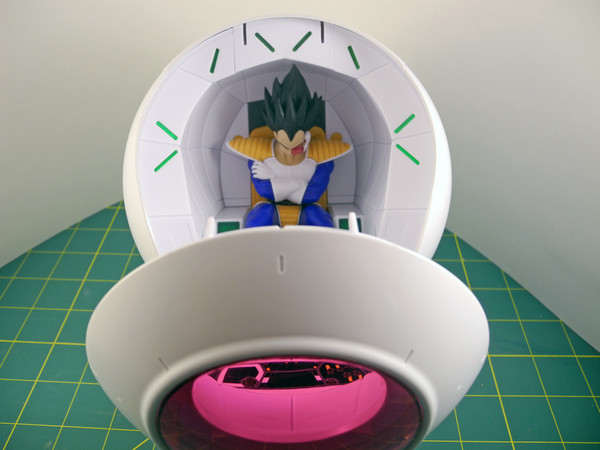
Here's the pod, two hours after I started building. Even with the difficulty I had with the sphere, it ended up looking great for the amount of effort I put into it. The large pieces, combined with how fixed most of it was, meant there was little room for human error.
Thanks again to Bluefin for giving me a chance to test this kit. If you're a DBZ fan interested in a kit that will be forgiving of your errors and still end up looking good, this is a good pick.
this article has been modified since it was originally posted; see change history